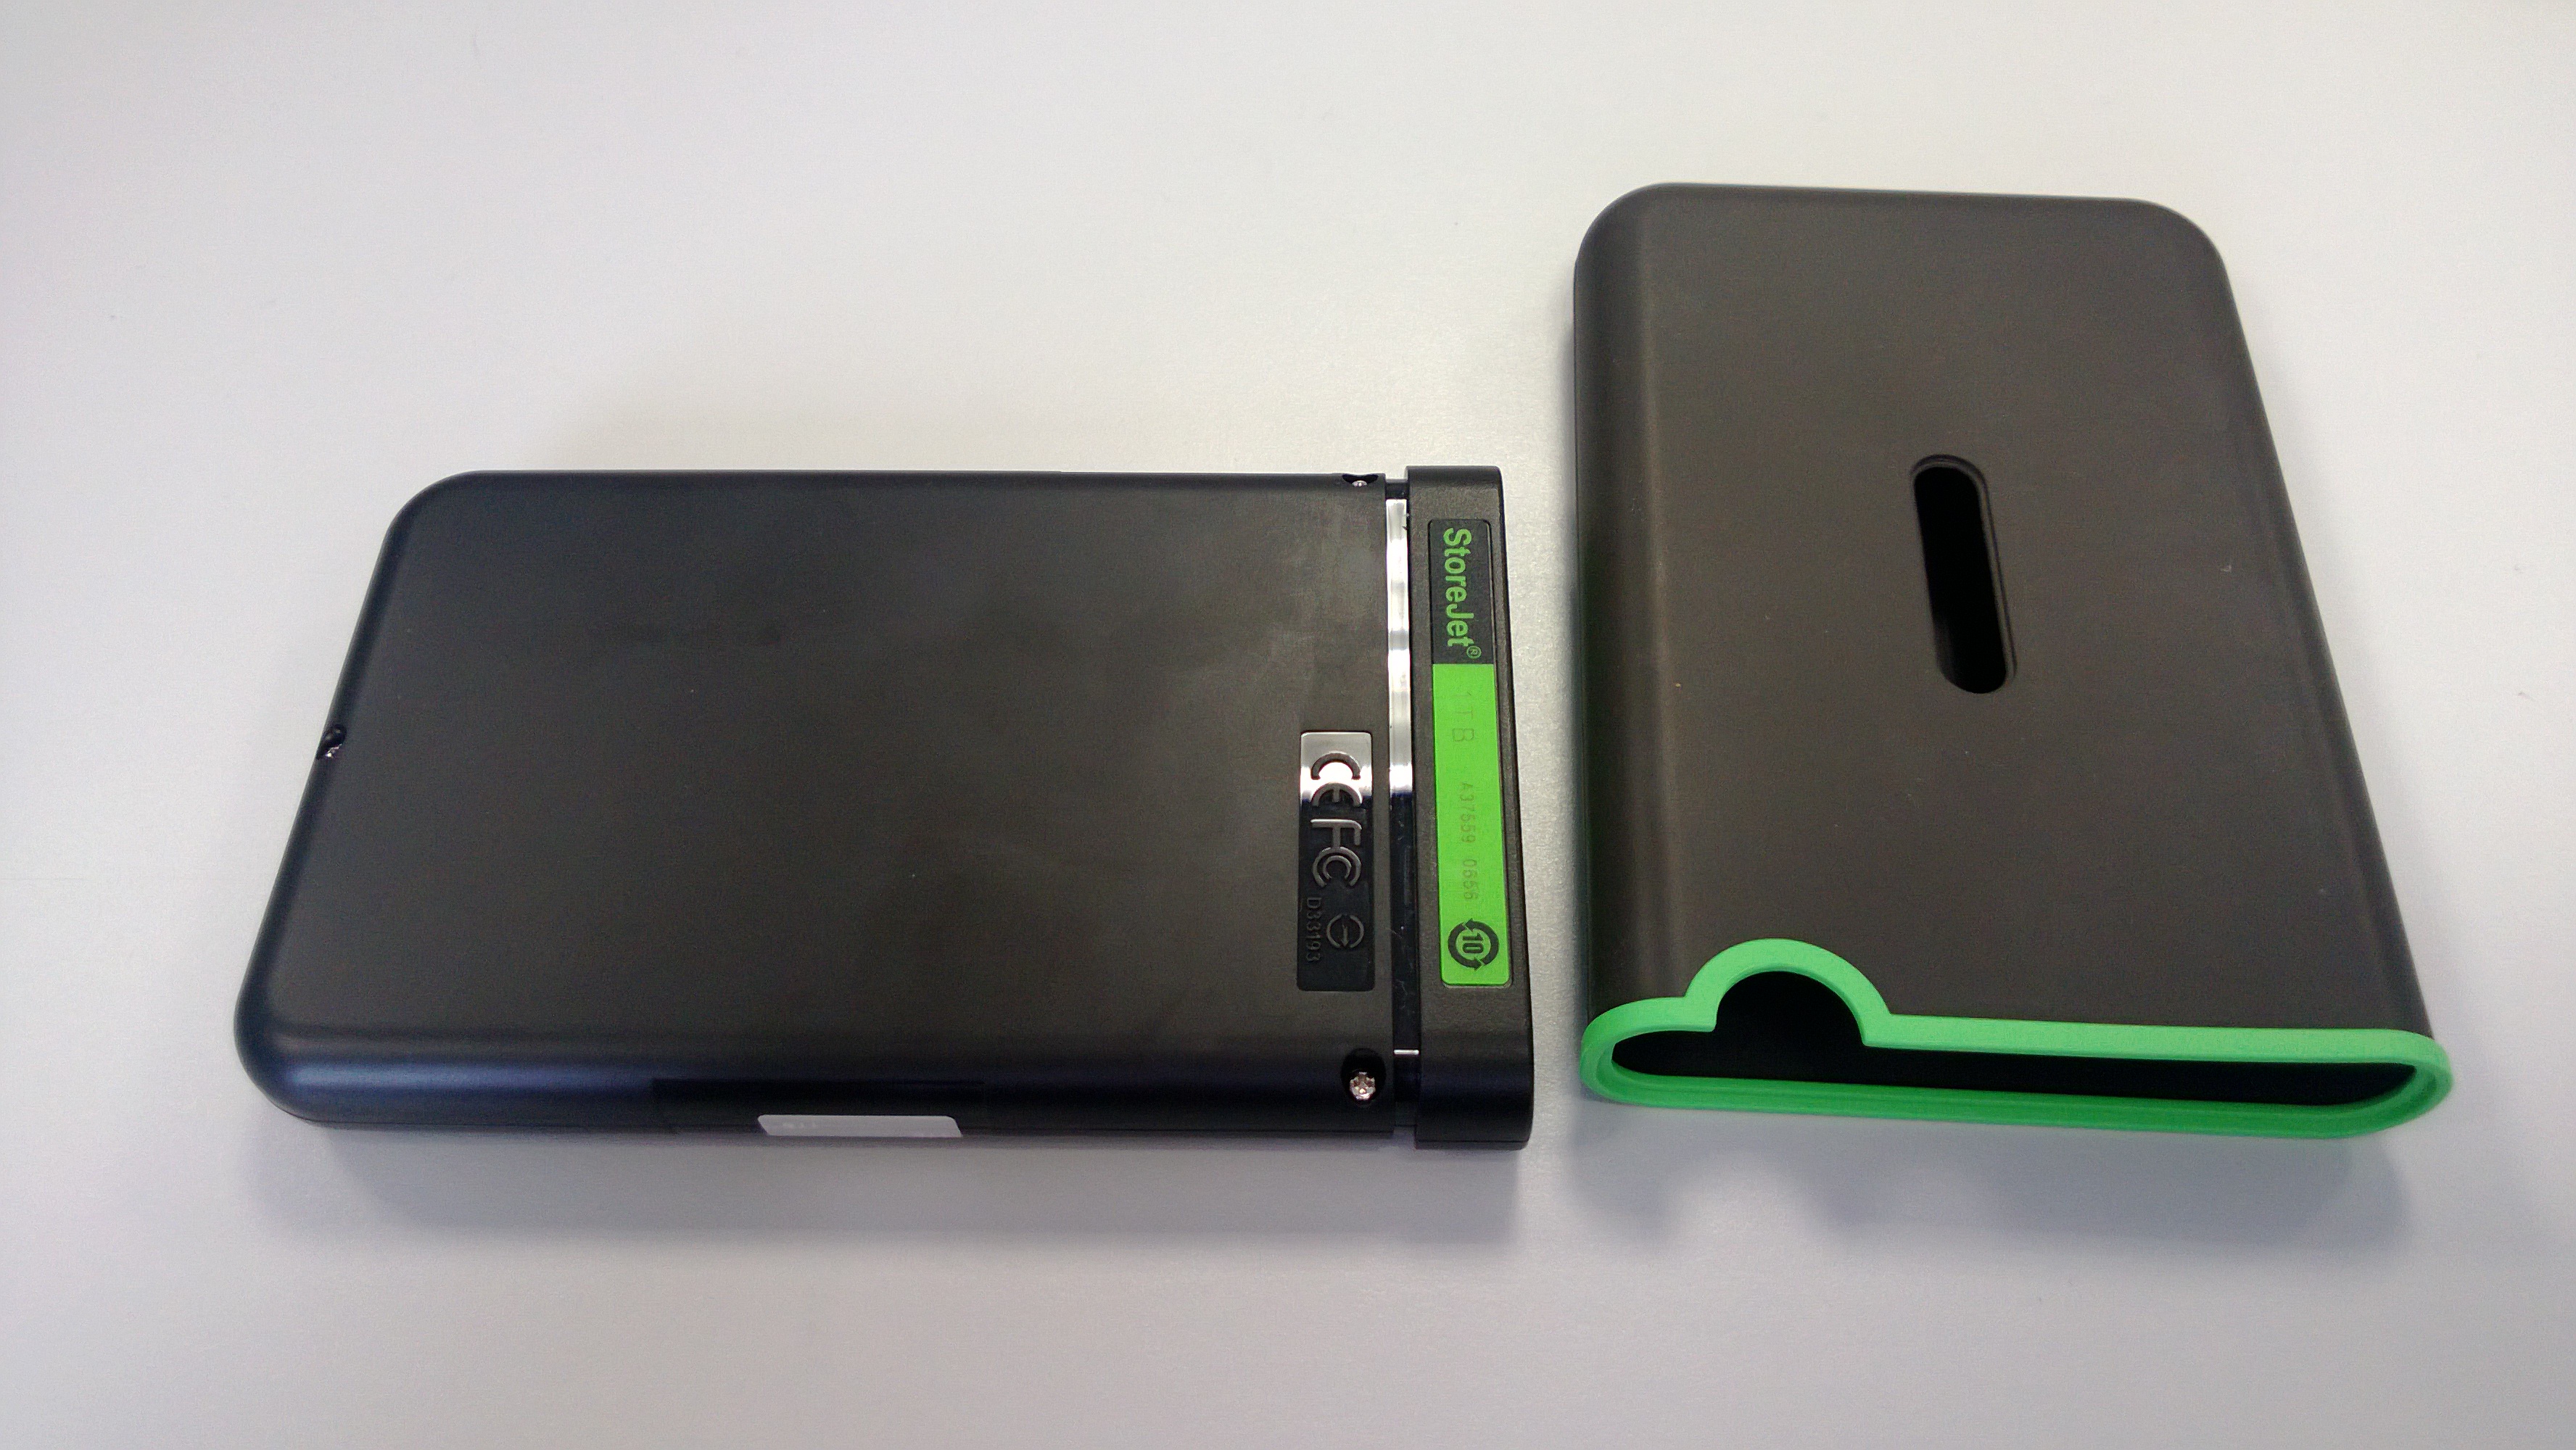
 The Transcend StoreJet external hard drive is a pretty straightforward product. It is a typical 2.5″ SATA laptop hard drive enclosed in a plastic housing and then re-enclosed with a rubber shock absorbing cover. The goal of this tutorial is to guide the reader through taking both cases off of the product so that the internal laptop drive can be accessed for use in troubleshooting issues related to the power and data adapter or to connect the drive directly to a system either internally or through a separate USB adapter.
Step #1
Remove the outer rubber shock cover. This can be easily done by simply peeling the cover back and slowly sliding it off of the plastic case. I found it was easiest if I first took my finger and put it between the rubber and the plastic at the front of the product (where the bright green faceplate is) and going all the way around to separate the rubber and plastic before trying to peel the rubber off. This helps especially if the rubber has started to stick to the plastic.
Step #2
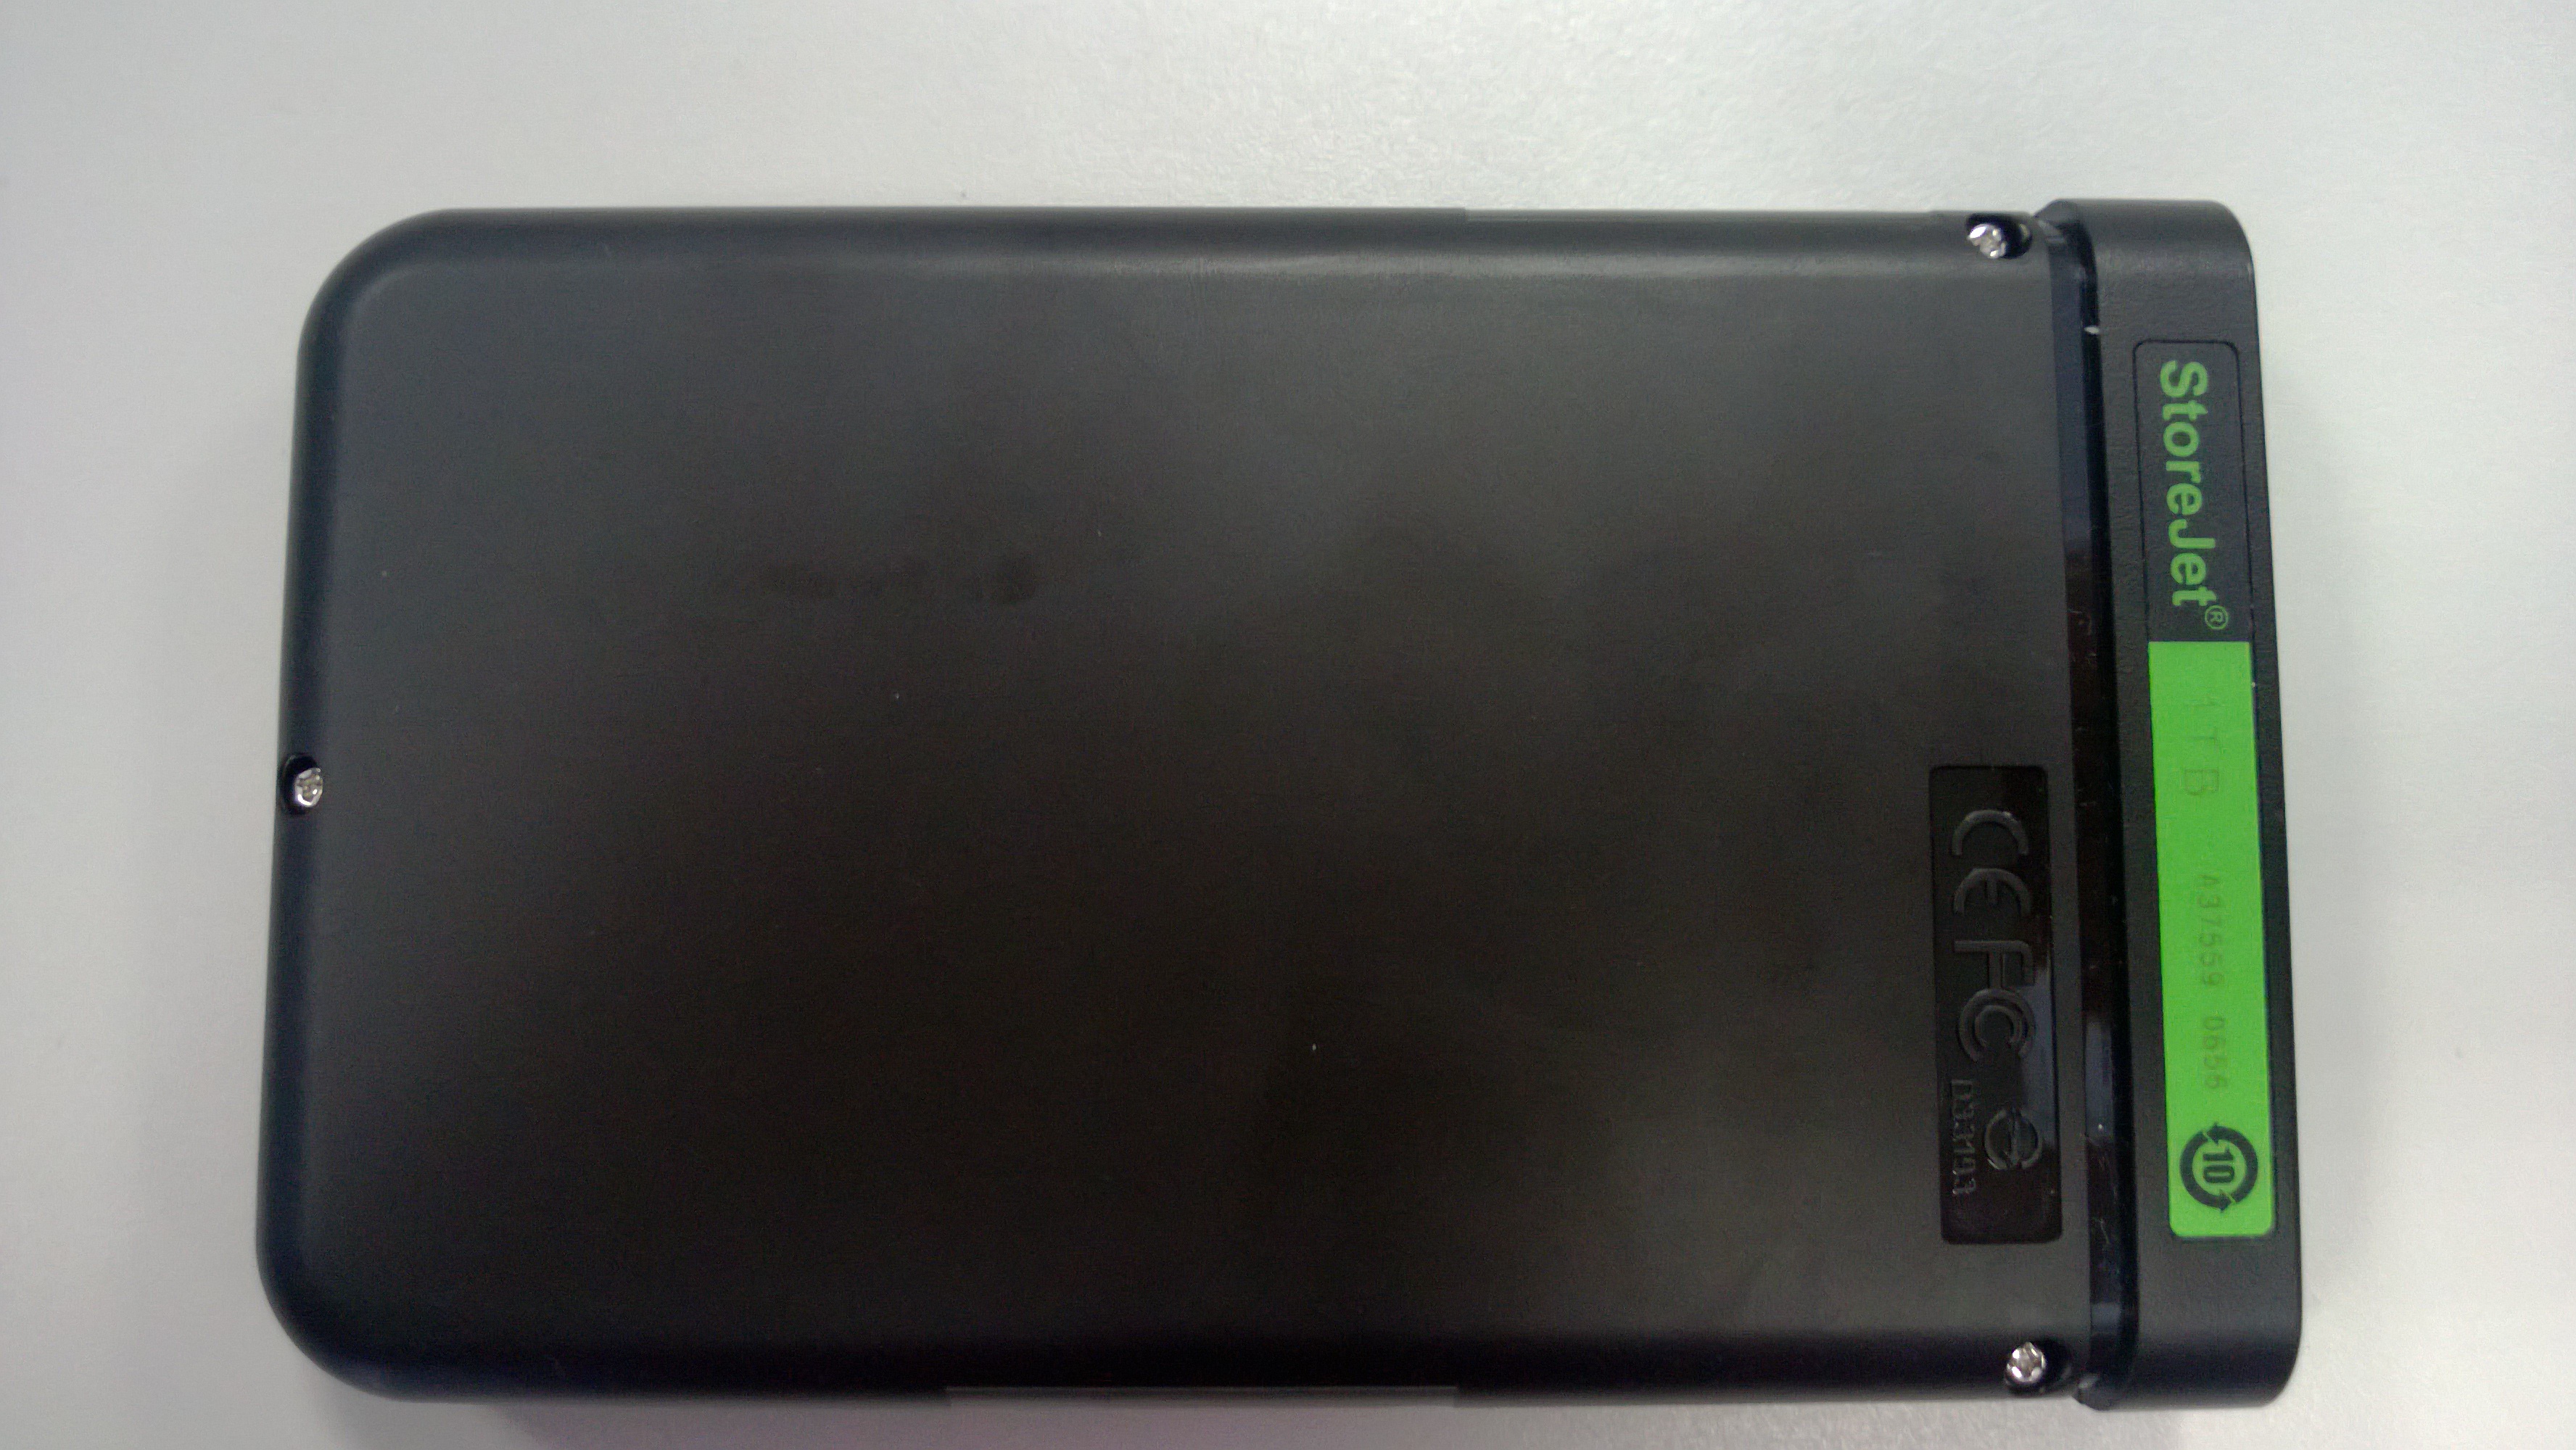
Remove the three plastic chassis screws. This requires a small Phillips style screwdriver. Be careful not to strip the screws. The screw locations are depicted below, there should be 2 in each corner near the front faceplate and one in the center at the back of the case.
Step #3
Separate the top and bottom cases. If you’ve still got that small screwdriver around (or even better, a flat head screwdriver) then you will need this to pry apart the two cases (top and bottom). Before starting that you need to slice through the silver warranty tape on two sides of the case. Once you’ve done that you can wedge the screwdriver into the front of the case (where the green plastic is) and begin slowly, and gently, separating the cases. They’re held together by small latches and as you push one case away from the other you will hear them begin to separate. There are a total of 8 latches (3 on each side plus 2 at the end of the case).
Step #4
Remove the SATA adapter. Now all that’s left is to peel off the rubber shock absorber (easily done by stretching it over the face and off the drive) and then to gently disconnect the adapter from the drive itself. Pull the adapter straight off the drive, do not try to break it off or twist it, you will damage the SATA interface itself and then you’re in worse shape.
Here’s the final product after disassembly! This particular version came with a Seagate Momentus ST1000LM024 5400RPM 2.5″ hard drive. I don’t have others to compare it to so I’m not sure if that’s the norm or not.

Leave a Reply
You must be logged in to post a comment.