
Penango is a Mozilla Firefox and Microsoft Internet Explorer plug-in which allows users to seamlessly use strong encryption to secure e-mails through popular web-based services such as Google Gmail. This guide is meant for the average computer user who would like to encrypt and decrypt emails to and from friends/family/coworkers without worrying about too much of the technical details. Penango boasts some impressive features such as Military-Grade Cryptography, 100% End-to-End Encryption and a No-Hassle experience (no extra gateways to go through and no extra logins required). The idea behind Penango is to enhance user security without introducing any extra steps or hurdles in day-to-day activities. [one_half] [box type=”shadow”] Military-Grade Cryptography Protect your e-mail with FIPS 140-2 certified and HIPAA-compliant cryptography. [/box] [/one_half] [one_half_last] [box type=”shadow”] 100% End-to-End Encryption Your data at rest and in transit remain encrypted; only you and your recipients can read your e-mails.[/box] [/one_half_last]
Prerequisites & Assumptions
This guide assumes you’ve already installed a modern version of Mozilla Firefox or Microsoft Internet Explorer (this guide is based off of Firefox 21.0 and Internet Explorer 10) and have an active Google Gmail account. If you need either of these, download Mozilla Firefox here, or sign up for free Google Gmail service here.Request A FREE Comodo Certificate
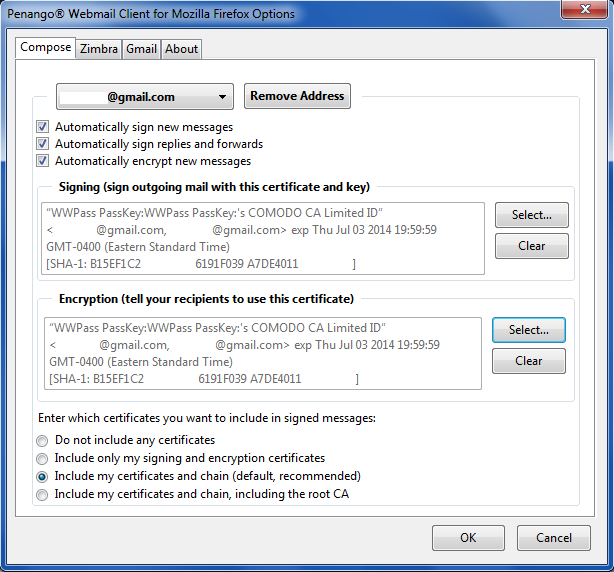
Certificates are used to “sign” and encrypt data (an email message in this case). The process of “signing” a message is similar to physically signing a document, it shows authenticity and origination of the document. The recipient will then be able to verify that the certificate and signature you used when creating the message to them is genuine and that they can trust that the message contents haven’t been tampered with. Start this process by visiting the website for the Comodo Application for Secure Email Certificate. Fill out the form with your real information. This information will be shown to the recipient to verify that you, in fact, were the person to create and send them the received message. Make sure that you enter your email address properly (ex: [email protected]). If your actual Gmail email address does not match the address you provide here, your signature will be displayed as suspicious or invalid to the recipient (because it cannot be verified). After you click Submit to continue, you may be prompted to select which device you’d like to use. If you own a WWPass PassKey, you can select this from the list (recommended). If not, use the default Software Security Device.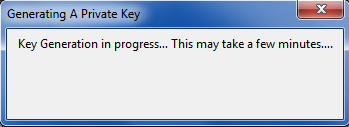
Download Your New Comodo Certificate
Comodo will send you an email (to your specified email address) with your newly generated certificate.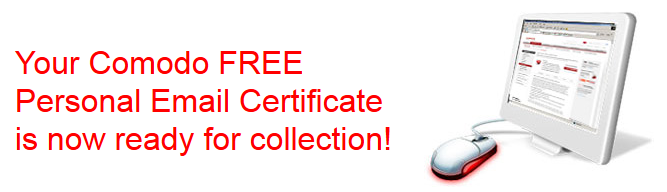
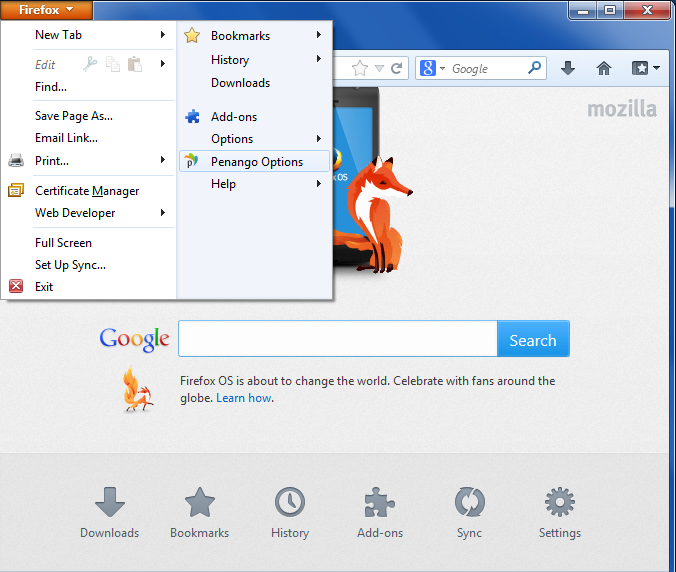
Installing Penango Add-On
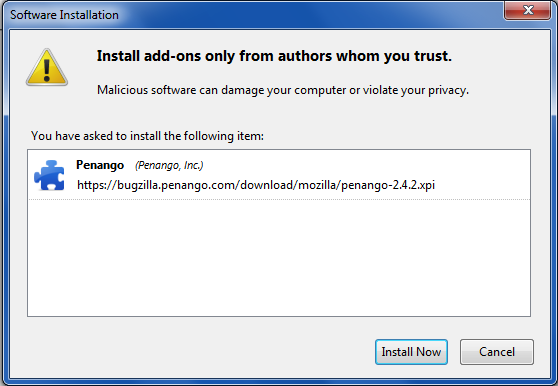
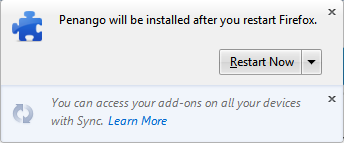
Now that you have the raw materials, we need to get the proper tools. Start by downloading Penango Add-On from their website. If you’re running a supported browser such as Mozilla Firefox or Internet Explorer, this download will start and attempt to install automatically. If you get a prompt stating that “Firefox prevented this site (www.penango.com) from asking you to install software on your computer“, be sure to click Allow.
If you’re using a smart card such as the WWPass PassKey, you will need to fully restart your computer before proceeding!
Configure Penango Firefox Add-On
Once Firefox restarts, click on the Firefox tab in the upper-left corner of the screen. You should now see the new Penango Options displayed. Click the new option to open the options dialog to configure Penango.If you’re on an Apple Mac system, you will find the Penango Preferences under the Tools tab in Firefox. Internet Explorer users will not have a Penango Options menu because IE apparently automagically configures itself. IE users can skip over this section.
Send A Signed Email With Gmail
Log in to your Gmail account at https://mail.google.com. Click “Compose” to create a new Gmail message. If you installed the Comodo-issued certificate properly in Penango you should be greeted by a green box with the text “Recipients using Penango will see that according to Comodo, someone at <[email protected]> sent this message“. Fill in the normal To and Subject fields. Make sure you have the signing option turned on. There will be a small icon in the bottom right of your message that will either look like a blank line with an ‘x’ next to it (meaning signing is turned off) or it will have a blue ink signature as an icon (meaning you’re about to sign this message). In the body you should write a small note requesting that the recipient send back a signed email so that you both can exchange your public certificate information (see note below). You’ll notice a little stamped seal on the Send button indicating that your message you’re about to send will be cryptographically signed using the certificate you downloaded from Comodo.As best practice, you should always wait to actually encrypt a message until you have both sent the recipient a signed email and received a signed email in return. This ensures that both parties have a copy of each others public cryptographic information prior to just assuming the recipient can actually decrypt the contents of your message. Penango will automatically detect any issues from signed emails and will warn you if needed.
Send An Encrypted Email With Gmail
Repeat the same steps in the Send A Signed Email With Gmail but during the process of filling out a newly composed email, click on the open lock symbol next to the trash icon. This will enable message encryption. That’s it! You’ve now send an encrypted and secure email using Gmail! The message you have just sent will only be able to be viewed by the intended recipient and, even if your email was intercepted, it will still be securely encrypted. After exchanging some encrypted email, you’ll find it’s quite easy to secure your communications online. Here’s the typical look of a decrypted message just so there are no surprises (screenshot from Internet Explorer 10).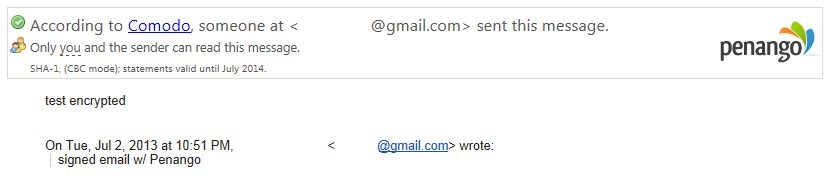
Leave a Reply
You must be logged in to post a comment.