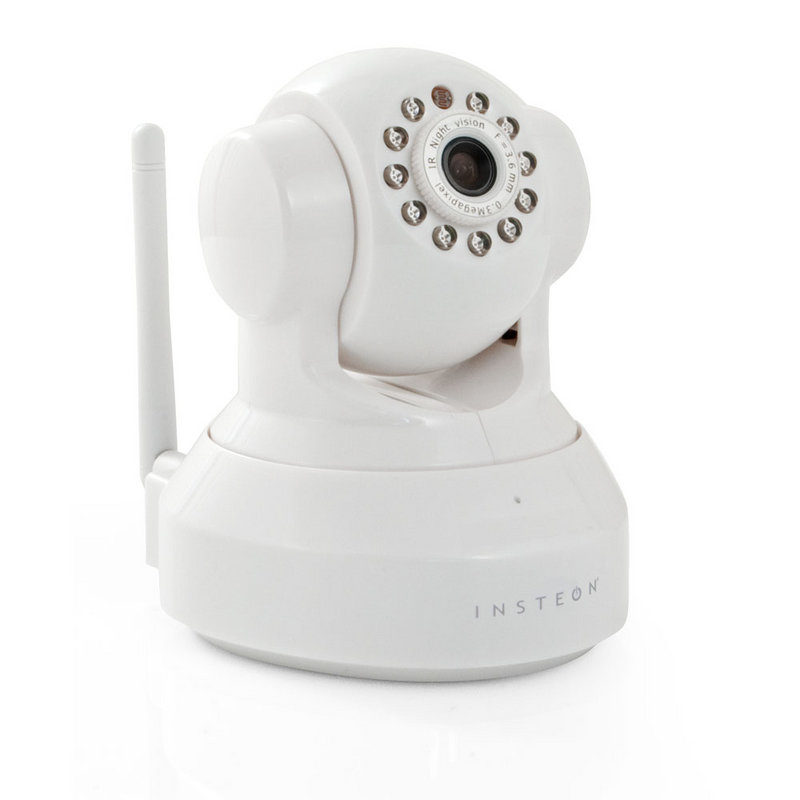
Greetings and salutations! Today we’re going to be talking about the Insteon 75790 WiFi (wireless IP) camera. These are fairly cheap cameras that you can find at Walmart or on (one of my favorite sites) https://www.smarthome.com/ . They have some OK features like PTZ (Pan-Tilt-Zoom), SMTP (outbound email), FTP, and the obvious features like WiFi (802.11 b/g, no 5GHz support) and a web interface. The max video resolution is 640×480 @ 15fps. The resolution is weak IMHO but the price point ($79.99 USD) will certainly offset that problem for most. I’m sure you can research the tech specs on your own so I won’t bore you with it. Chances are, if you got here through a search engine, you’ve already purchased one and have ripped most of your hair out already. Correct? Well, let me (hopefully) ease some of your point. THIS DEVICE DOES NOT PLAY WELL WITH OTHER HOME AUTOMATION PRODUCTS (INCLUDING INSTEON)! There… I’ve said it. Phew. It seems Insteon did a good job masking this fact and really instilled a lot of distrust in their brand by selling something that, unlike all of their other products, does not interact with other products or “automate” in really any fashion. Luckily, there are some ways to interact with the camera (it just isn’t really publicized anywhere). These cameras are actually rebranded Foscam IP cameras and, as such, sport a CGI API (HTTP API). This means that we can send simple HTTP requests to the camera to get various results (and possibly use something like an ISY 994i with the network module to control it!). Now to answer some common questions I see floating around online. [box type=”download”] UPDATE! I wrote a Node.js application to automate this process. It will tell the camera to set alarms for sound/motion and start recording automatically. Check it out at https://github.com/01000101/insteon-75790-recorder [/box]
How Do I Record Video From My Insteon 75790?
Easy…ish! First off, go and download FFMPEG. Once you have that installed, make sure you can actually call the application from your command line / shell. The hard part is over. 🙂 Now simply form a web request to the camera as the FFMPEG input source. Below is the command I use to stream video and record it to file. Replace the obvious areas with your camera’s IP address, username, and password to your Insteon WiFi camera below. Warning: your username/password will be sent in PLAIN-TEXT (not encrypted) so I recommend using a random generated password.ffmpeg.exe -stats -y -loglevel info -i “http://ipaddress/videostream.asf?user=username&pwd=password&resolution=32&rate=0″ -shortest -f segment -segment_time 1800 -map 0 -strftime 1 “cam_%Y-%m-%d-%H-%M-%S.mpeg”Basically this will give you record from the stream (URL), output some basic stats and info (such as FPS, format, resolution, etc…), and dump the stream to file. You can also see I included a few extra parameters in the URL; resolution=32 (which sets the stream resolution to VGA 640×480) and rate=0 (which does not cap the frame rate). I haven’t played around with specifying formats or anything like that so maybe there’s an even better way of doing this, but this works great for my needs. I also included the bits to record in segments. The script above will record in 30 minute (1800 seconds) chunks and will log the timestamp in the file name. A whole day of recording at the above quality should run you around 3.80GB so make sure you have enough space if you plan on recording long-term. I’d suggest having a cleanup service running that deletes files with timestamps older than X days/weeks.
Leave a Reply
You must be logged in to post a comment.